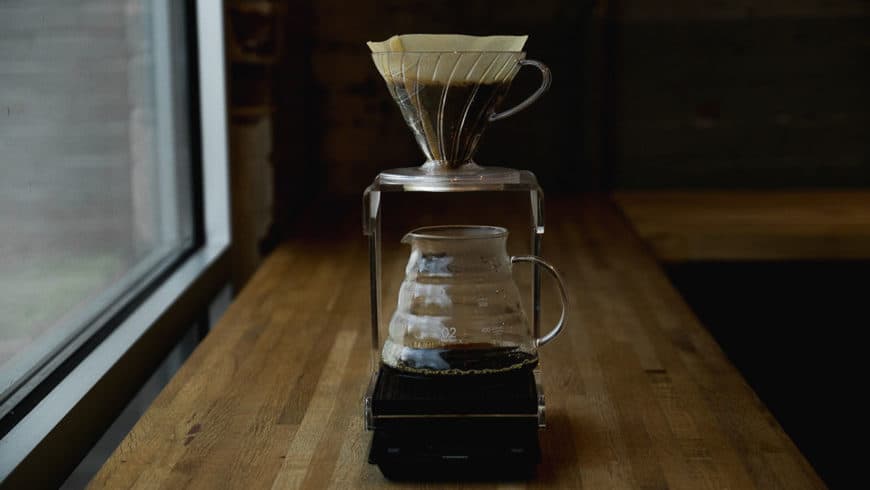

Some consider brewing coffee with a Hario V60 a pour-over method that elevates your coffee game with its precision and flavor clarity. This Japanese-designed brewer, with its iconic 60-degree cone and spiral ridges, gives you ;ots of control over the brewing process, bringing out any unusual aromas and tastes of whatever coffee you use. Whether you’re a beginner or a pro, the V60 offers a rewarding experience that’s simple yet sophisticated.
Ready to master this method at home? Let’s get into the essentials, step-by-step process, and pro tips to brew with one like a barista.
Why Choose the Hario V60?
The benefits of brewing with a V60 are plenty: the cone shape ensures a steady water flow for even extraction, avoiding bitterness or under-extraction, while the paper filter delivers a clean, sediment-free cup. It’s perfect for solo or small-batch brewing, easy to clean, and portable—crafted from durable materials like ceramic, plastic, or glass.
The Hario V60 also stands out for its ability to highlight coffee’s unique flavors. The 60-degree angle and internal ridges allow water to flow evenly through the grounds, extracting a balanced profile without overdoing it.
Unlike immersion methods (e.g., French press), the V60’s quick filtration produces a light, bright cup—ideal for showcasing single-origin beans. Its compact size suits one or two servings, and its heat-resistant build (especially ceramic) ensures durability and portability for travel or daily use.
Equipment You’ll Need
To brew with a Hario V60, gather these essentials:
- Hario V60 Dripper: Available in sizes 01 (1-2 cups), 02 (1-4 cups), or 03 (1-6 cups); ceramic, plastic, or glass.
- Gooseneck Kettle: For precise pouring (a regular kettle works but lacks control).
- Burr Grinder: Ensures uniform grind size.
- Scale: Measures coffee and water accurately.
- Timer: Tracks brewing stages.
- V60 Paper Filters: Designed for optimal flow.
- Fresh Roasted Whole Bean Coffee: Ideally local, roasted within two weeks.
- Mug or Carafe: To catch your brew.
Step-by-Step Guide to Brewing with a Hario V60
Mastering the V60 can feel daunting, but this detailed guide simplifies it into manageable steps. Follow along, and you’ll be brewing pro-level coffee in no time.
Step 1: Heat Water to 195–205°F
Weigh out 320g of water and heat it to 195–205°F (90–96°C). If you lack a thermometer, boil the water and let it sit for 30 seconds to cool slightly. This temperature range extracts flavors without scorching the coffee.
Step 2: Weigh and Grind 20g of Coffee
Measure 20g of coffee beans for a single cup (adjust for more servings, maintaining a 1:16 coffee-to-water ratio). Grind to a medium-coarse consistency—like kosher salt—using a burr grinder. Freshly ground coffee is key; grinding too early risks losing volatile compounds that define aroma and taste.
Step 3: Prepare the V60 Paper Filter
Fold the filter along its seam and place it in the V60 dripper, set atop your mug or carafe. The filter’s conical shape matches the brewer, ensuring proper flow.
Step 4: Rinse the Filter
Pour hot water (about 100g) over the filter to rinse away papery residue, preheat the dripper and vessel, and secure the filter to the sides. Discard this rinse water before proceeding.
Step 5: Add Coffee and Tare the Scale
Add your 20g of ground coffee to the filter, gently shaking the V60 to level the coffee bed for even extraction. Place the setup on your scale and tare it to zero.
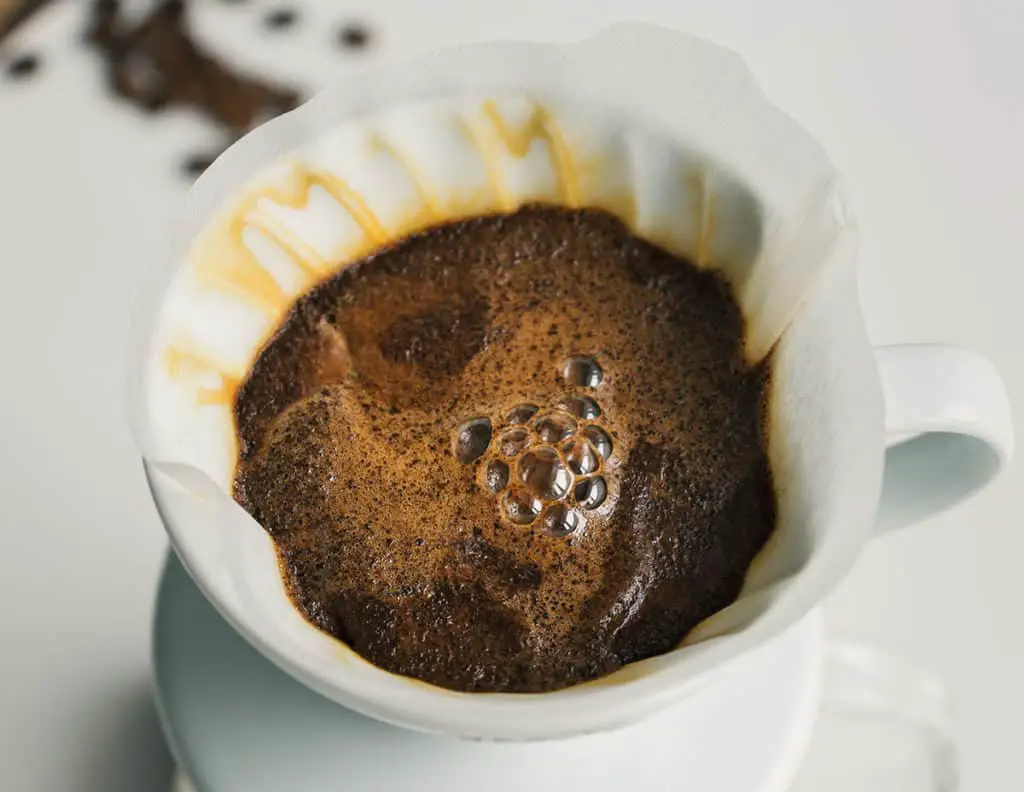
Step 6: Bloom the Coffee
Start your timer and pour 40g of water (2:1 ratio to coffee) in a slow, circular motion over the grounds. Let it sit for 30–45 seconds. This “bloom” phase releases trapped gases (especially from fresh coffee), visible as bubbling, ensuring even saturation for the main pour.
Step 7: Pour the Remaining Water
At 30–45 seconds, begin pouring the remaining 280g of water (to reach 320g total) in slow, concentric spirals. Start from the center and move outward, avoiding the filter’s edges. Aim to finish pouring by 2:30 minutes. The gooseneck kettle shines here, offering precision to maintain a steady flow and even extraction.
Step 8: Finish Brewing and Enjoy
Let the water drain completely, aiming for a total brew time of 3:30–4:00 minutes. Remove the dripper, discard the filter and grounds (compost if possible), and savor your coffee. If the brew time strays outside this range, adjust your grind: coarser for faster drainage, finer for slower.
Brewing Parameters Table
Here’s a quick reference for your V60 brew:
| Parameter | Value |
|---|---|
| Brew Time | 3:30–4:00 minutes |
| Coffee Amount | 20g |
| Water Amount | 320g |
| Coffee-to-Water Ratio | 1:16 |
| Grind Size | Medium-Coarse |
| Water Temperature | 195–205°F (90–96°C) |
Troubleshooting Your Brew
If your coffee doesn’t taste right, tweak these variables:
- Too Weak/Short Brew (<3:30): Grind finer or pour slower.
- Too Bitter/Long Brew (>4:00): Grind coarser or pour faster.
- Uneven Extraction: Ensure a flat coffee bed and consistent pouring.
Why Use a Gooseneck Kettle?
A gooseneck kettle is a game-changer for V60 brewing:
- Control: Its narrow spout allows precise water placement.
- Consistency: Even water distribution enhances flavor.
- Quality: Prevents over-agitation, ensuring a balanced cup.
A regular kettle works in a pinch, but you’ll miss the finesse that elevates your brew.
Final Thoughts
Your first Hario V60 brew might not be perfect—and that’s okay. Coffee brewing is an art honed with practice. Experiment with grind size, pour speed, and coffee origins to find your sweet spot. The V60’s beauty lies in its simplicity and control, rivaling coffee shop quality at home. Pair it with fresh, locally roasted beans and a gooseneck kettle, and you’ll unlock a world of flavor in every cup.