
Brewing a great cup of coffee at home comes down to getting the details right, and one of the most important is the coffee-to-water ratio. This simple formula — how much coffee you use compared to water — shapes your coffee’s strength, flavor, and balance. Too much water and your coffee is weak and watery. Too little and it turns bitter and harsh.
In this guide we’ll break down the best coffee-to-water ratios for every popular brewing method, explain the four variables that change how any ratio tastes, and show you how to dial in a cup that’s right for you.
Why the Coffee-to-Water Ratio Matters
The coffee-to-water ratio is the weight of ground coffee relative to the weight of water, written as something like 1:16 — one gram of coffee for every sixteen grams of water. That balance controls how much flavor the water pulls out of the grounds.
A higher proportion of coffee (1:15) gives you a stronger, bolder cup. A lower one (1:18) gives you something lighter and milder. The right number depends on your taste, your brewing method, and the roast and grind of your beans.
A quick note on notation
You’ll see ratios written both ways online, and it causes real confusion. Some sources write 1:16 (coffee first), others write 16:1 (water first). They describe exactly the same brew.
This guide uses coffee first throughout — so 1:16 always means one part coffee to sixteen parts water. When you see a bigger second number, you’re looking at a weaker, more diluted cup.
Weight, not volume
The ratio is based on weight, and that distinction matters more than most people expect. A tablespoon of finely ground espresso weighs meaningfully more than a tablespoon of coarse cold brew grounds. Bean density varies by origin, and roast level changes it again — darker roasts are less dense, so the same scoop holds less coffee by weight.
Pre-ground coffee from the supermarket is usually calibrated for medium grinds suited to drip machines, but scoops and cups still aren’t reliable for precision. Weighing removes the guesswork. It’s why every cafe you’ve ever admired weighs everything.

The Golden Ratio: What the SCA Actually Recommends
The “golden ratio” isn’t a rigid rule so much as a guideline, promoted by organizations like the Specialty Coffee Association. Their standards put the ideal range between 1:15 and 1:20 by weight.
At 1:15 you get a stronger brew, good for bold flavors or coffee you plan to add milk to. At 1:20 you get a milder cup that suits sipping black. Either way, the proportion supports optimal extraction, where water pulls the desirable soluble compounds — sugars, acids, oils — out of the grounds without overwhelming the palate.
Most experts land on 1:16 as the default starting point. It’s strong enough to deliver real flavor without tipping into harshness, and it’s a sensible baseline to experiment from. If you drink your coffee black, try moving toward 1:17 or 1:18 for a gentler profile. If you take cream and sugar, 1:15 gives you a brew with enough backbone to stand up to the dairy.
If you’d rather not memorize any of this, our printable coffee-to-water ratio guide puts every brew method’s numbers on a single chart you can stick to the kitchen wall.
Coffee-to-Water Ratios by Brewing Method
Each method extracts coffee differently, so the ideal ratio shifts. Here’s the full picture:
| Method | Ratio Range | Example Dose | Grind | Notes |
|---|---|---|---|---|
| Drip Coffee | 1:15 – 1:17 | 60 g per litre | Medium | Pre-wet the paper filter |
| Pour-Over | 1:15 – 1:17.5 | 20 g : 320 g | Medium-fine | Bloom 30–45 seconds |
| French Press | 1:12 – 1:17 | 30 g : 450 g | Coarse | 4 min steep, slow press |
| AeroPress | 1:10 – 1:15 | 15 g : 225 g | Medium-fine | Try the inverted method |
| Moka Pot | 1:7 – 1:10 | Fill basket level | Fine-medium | Never tamp |
| Espresso | 1:1.5 – 1:3 | 18 g → 36 g | Fine | 25–30 second shot |
| Cold Brew (ready-to-drink) | 1:13 – 1:17 | 60 g : 900 g | Coarse | Drink as-is after filtering |
| Cold Brew (concentrate) | 1:4 – 1:8 | 200 g : 1.2 L | Coarse | Dilute roughly 1:1 |
Drip Coffee
Drip coffee is the classic home method — simple and consistent. Most automatic machines work best between 1:15 and 1:17 with a medium grind. For a 6-ounce cup that’s about 10–12 grams of coffee, roughly two tablespoons. Move toward 1:15 if you like it stronger.
Pre-wet the paper filter before you add grounds; it rinses away the papery taste and preheats the brew basket. Most machines automate timing, so your job is really just measuring accurately.
Pour-Over
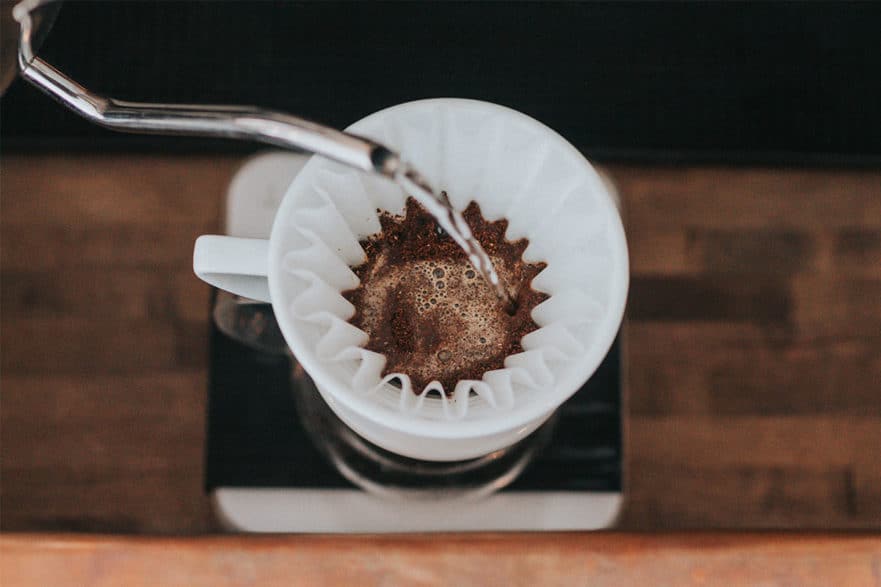
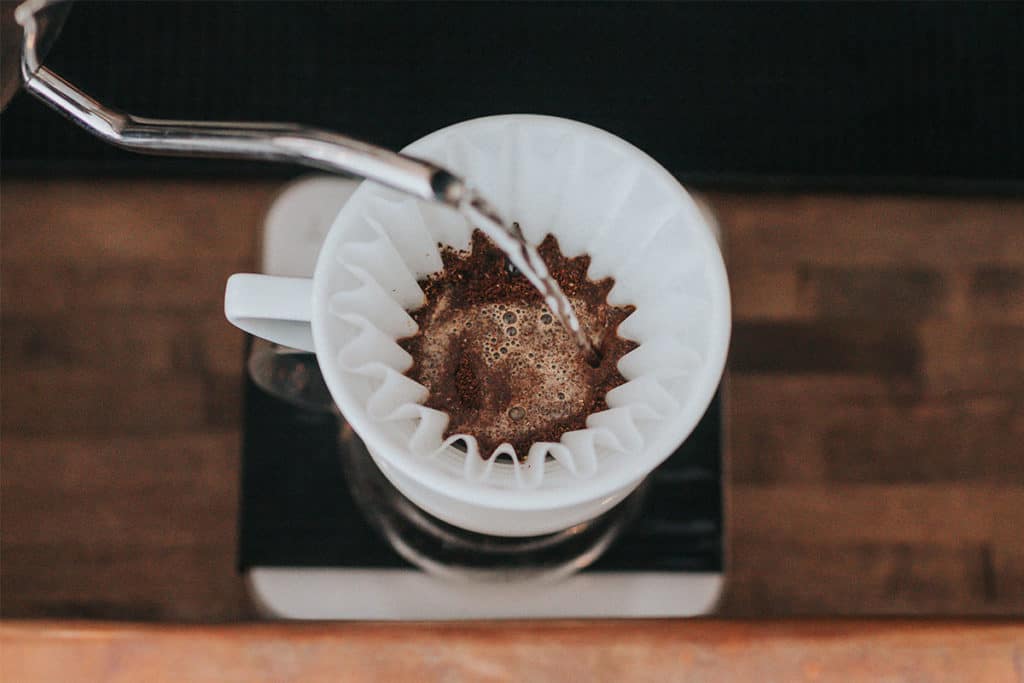
Pour-over brewing — Chemex, Hario V60, Kalita — gives you direct control over flow and temperature. Anywhere from 1:15 to 1:17.5 works well with medium-fine grounds; 1:16 is the reliable middle.
Begin with a bloom: pour a small amount of hot water, just enough to saturate the grounds, and let it degas for 30–45 seconds. Then pour slowly in a spiral to wet everything evenly, keeping water between 195–205°F.

French Press
French press is an immersion method — grounds steep in water for about four minutes. Use a coarse grind. The workable range runs from 1:12 for something bold and heavy through to 1:17 for a lighter cup, with 1:15 a good default. For a 12-ounce brew at 1:15, that’s 20 grams of coffee to 300 grams of water.
Stir gently after adding water so all the grounds are saturated, then press slowly. Pressing hard forces fines through the mesh and gives you sediment in the cup.
AeroPress
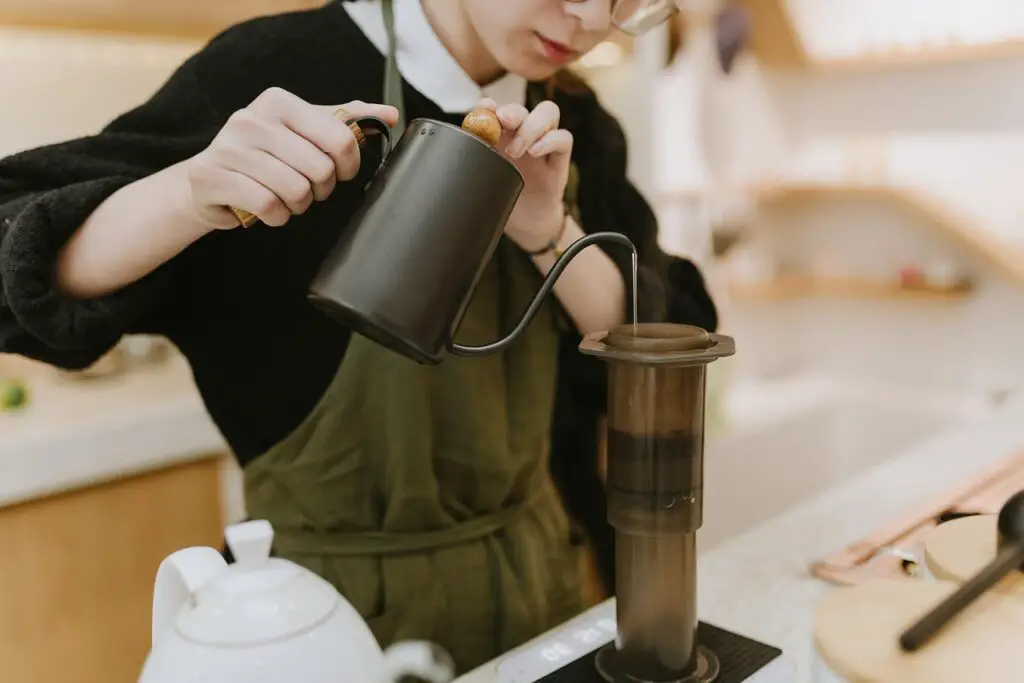
The AeroPress blends immersion and pressure, which makes it unusually flexible. At 1:10 with medium-fine grounds you get a strong, espresso-adjacent concentrate; at 1:15 something much lighter. For a single cup, 15 grams of coffee to 225 grams of water is a reliable starting point.
The inverted method — flipping the AeroPress upside down while it steeps — buys you longer contact time without drip-through.
Moka Pot
The moka pot works differently from everything else here: the ratio is largely fixed by the pot’s geometry. Fill the boiler to just below the safety valve, fill the basket level with fine-to-medium grounds, and you’ll land somewhere between 1:7 and 1:10.
Don’t tamp. The moka pot builds far less pressure than an espresso machine, and tamping causes channeling and a bitter, uneven brew. Pull it off the heat as soon as it starts to sputter.
Espresso
Espresso uses high pressure and a fine grind, and it’s measured as dose in to liquid out rather than coffee to water. A standard shot is 1:2 — 18 grams of coffee yielding 36 grams of liquid in 25–30 seconds. Stretch it toward 1:3 and you’re pulling a lungo; tighten below 1:1.5 and you’re into ristretto territory.
Adjust the grind to hit that timing. If the shot runs fast, grind finer; if it chokes, grind coarser. Machines vary enough that you’ll need to dial in yours specifically.
Cold Brew
This is where most guides go wrong, because “cold brew” describes two different drinks.
Ready-to-drink cold brew uses 1:13 to 1:17 and is poured straight over ice after filtering. For a 32-ounce batch, use around 60 grams of coffee to 900 grams of water.
Cold brew concentrate uses 1:4 to 1:8 and is meant to be diluted roughly one-to-one with water or milk before you drink it. Undiluted, it’s punishing.
Either way, use a coarse grind and steep 12–18 hours, then filter through a fine mesh or paper filter. Our full cold brew guide covers the process in detail.
Work Out Your Own Numbers
Pick your method, enter how much you’re making, and slide the strength to taste. It’ll give you the coffee dose in both tablespoons and grams, plus the grind and timing to match.
Craft Coffee Guru
Coffee Brew Calculator
Pick a method, tell it how much you're making, and dial the strength to taste.
Coffee to water, by weight
Medium — like table salt
2:30 – 3:30
Want these numbers on the counter, not the screen?
The printable chart covers every brew method to SCA/NCA standards — plus a 6-page guide to dialing it in.
Get the Guide + Chart — $6Measuring Without a Scale
A digital scale is the single best upgrade for consistency, and good ones are inexpensive. But if you don’t have one yet:
- 1 gram of water = 1 millilitre (this makes water easy — 320 ml is 320 g)
- 1 level tablespoon of ground coffee ≈ 5–7 grams
- 1 standard coffee scoop ≈ 2 tablespoons ≈ 10–12 grams
To work out a dose, divide your water weight by the second number in your ratio. For a 250-gram cup at 1:16, that’s 250 ÷ 16 = about 15.6 grams of coffee. Going the other way, 20 grams of coffee at 1:16 needs 320 grams of water.
Treat volume measurements as a starting point rather than a standard. If you’re using a scoop, weigh it once so you know what it actually holds — then at least your inconsistency is consistent.
The Four Variables That Change How Your Ratio Tastes
A ratio isn’t a guarantee. The same 1:16 can produce a lovely cup or a terrible one depending on four other things.
Grind Size
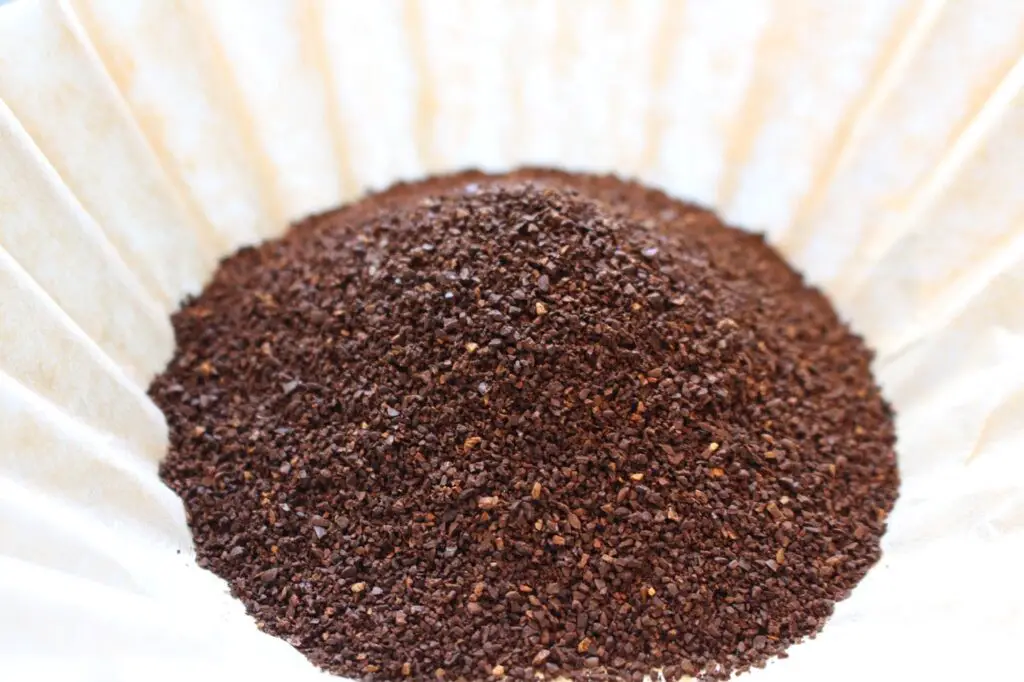
Grind is the variable most likely to sabotage a correct ratio. Finer grounds expose more surface area, so they extract faster — and over-extract if you’re not careful. Coarser grounds extract more slowly and go under-extracted if the brew time doesn’t compensate.
Drip machines want a medium grind, roughly the texture of table salt. French press wants coarse, closer to sea salt, so the fines don’t slip through the mesh. Pour-over sits in between at medium-fine. Our grind size chart covers every method in detail.
Consistency matters as much as size, which is why a burr grinder beats a blade grinder decisively. Blades chop unevenly, producing both dust and boulders — the dust over-extracts while the boulders under-extract, and you taste both at once.
Water Temperature
Too hot and you scald the grounds, pulling out bitter compounds. Too cool and you never extract enough, leaving a flat, hollow cup. The working range for hot brewing is 195–205°F (90–96°C).
That’s deliberately below boiling. Water at 212°F is too aggressive for most beans. The simplest fix without a thermometer: boil, then let the kettle sit off the heat for about 30 seconds.
Light roasts are denser and can handle the top of the range. Dark roasts are more soluble and do better a few degrees lower.
Agitation
Agitation is the movement of the grounds during brewing, and it quietly changes extraction. In immersion methods like French press, a gentle stir increases contact between water and coffee and pulls more out. Pour-over agitates naturally through staged pouring. Automatic drip machines agitate very little, relying on gravity.
More agitation gives a fuller-bodied cup — up to a point, past which you tip into over-extraction and bitterness. If your brews consistently taste thin at the correct ratio, try stirring the bloom.
Filter Type
Your filter decides what actually reaches the cup. Paper traps most oils and fine particles, giving you a clean, bright brew. Metal lets oils and some sediment through, adding body and a heavier mouthfeel.
Neither is better. But the same coffee at the same ratio genuinely tastes different through each, so if you switch filter types, expect to re-taste before you re-adjust anything else.
Water Quality Matters
Coffee is roughly 98% water, so what you brew with is not a minor detail. Use filtered water to avoid chlorine and off-flavors. If you’re on tap water, let it run a few seconds first.
Avoid distilled and heavily softened water. Both lack the dissolved minerals — magnesium and calcium in particular — that coffee needs to extract properly. Water that’s too pure produces a flat, hollow cup no ratio can rescue. Our guide to the best water for coffee goes deeper.
How to Dial In Your Own Ratio
Start at 1:16 and change one thing at a time. This is the discipline that separates people who improve from people who just keep fiddling.
Brew your baseline and taste it properly — not on autopilot on the way out the door. Then adjust the ratio in one direction and hold everything else constant: same grind, same temperature, same time, same beans. If you change two variables at once, you learn nothing from the result.
Use fresh beans, ideally within two to four weeks of the roast date, and grind immediately before brewing. Coffee loses aromatics fast once ground, and no ratio compensates for stale coffee.
Keep notes. A line in your phone is enough: beans, dose, water, grind setting, and what you thought. After a couple of weeks you’ll have a personal reference worth more than any general guide, including this one.
Troubleshooting: What Your Coffee Is Telling You
| What you taste | What it usually means | What to try first |
|---|---|---|
| Weak, watery, thin | Under-dosed or under-extracted | More coffee (1:15), grind finer |
| Sour, sharp, empty finish | Under-extracted | Grind finer, hotter water, longer brew |
| Bitter, harsh, drying | Over-extracted | Grind coarser, cooler water, shorter brew |
| Bitter and weak at once | Stale beans or a dirty brewer | Fresh beans; clean the equipment |
| Flat, hollow, lifeless | Water problem | Switch to filtered; avoid distilled |
| Gritty or muddy | Grind too fine for the filter | Coarser grind; press more slowly |
Sour and bitter are the two most common complaints, and they pull in opposite directions — which is why guessing rarely works. We cover the distinction in depth in why your coffee tastes bitter or sour and, for the sour end specifically, under-extracted coffee.
Frequently Asked Questions
What is the best coffee-to-water ratio?
1:16 by weight is the most reliable starting point for most brewing methods — one gram of coffee to sixteen grams of water. Adjust toward 1:15 for a stronger cup or 1:17–1:18 for a lighter one.
How much coffee do I use per cup?
For a standard 8-ounce (250 g) cup at 1:16, use about 15 grams of coffee — roughly two to three level tablespoons. Note that many coffee makers define a “cup” as 6 ounces, not 8, which is why carafe markings rarely match your mug.
Is 1:16 the same as 16:1?
Yes, they describe the same brew — sources just differ on which number they put first. This guide always puts coffee first, so 1:16 means one part coffee to sixteen parts water.
Does the ratio change for dark roast?
The ratio itself doesn’t need to change, but dark roasts are less dense and more soluble. The same scoop holds less coffee by weight, and it extracts faster — which is why measuring by weight matters more with dark roasts, not less.
Should I change my ratio for iced coffee?
Yes, if you’re brewing hot over ice. Use roughly 1:12 to account for the melting ice, or brew at your usual ratio onto a measured amount of ice so the dilution is predictable rather than accidental.
Do I really need a scale?
You don’t need one to make good coffee, but you need one to make the same coffee twice. Bean density varies enough that volume measurements drift, so if your results are inconsistent for no obvious reason, a scale is usually the fix.
Final Thoughts
Coffee-to-water ratio is the foundation everything else sits on. Start at 1:16, measure by weight, and change one variable at a time until the cup tastes the way you want it to. Grind, temperature, agitation, and filter all shift the result, but the ratio is where you begin.
Once you’ve found your numbers, write them down. Consistency is the whole point — and it’s what turns a good cup into your cup.
Want every method’s numbers in one place? Our printable coffee-to-water ratio chart covers all of them, formatted for the kitchen wall.