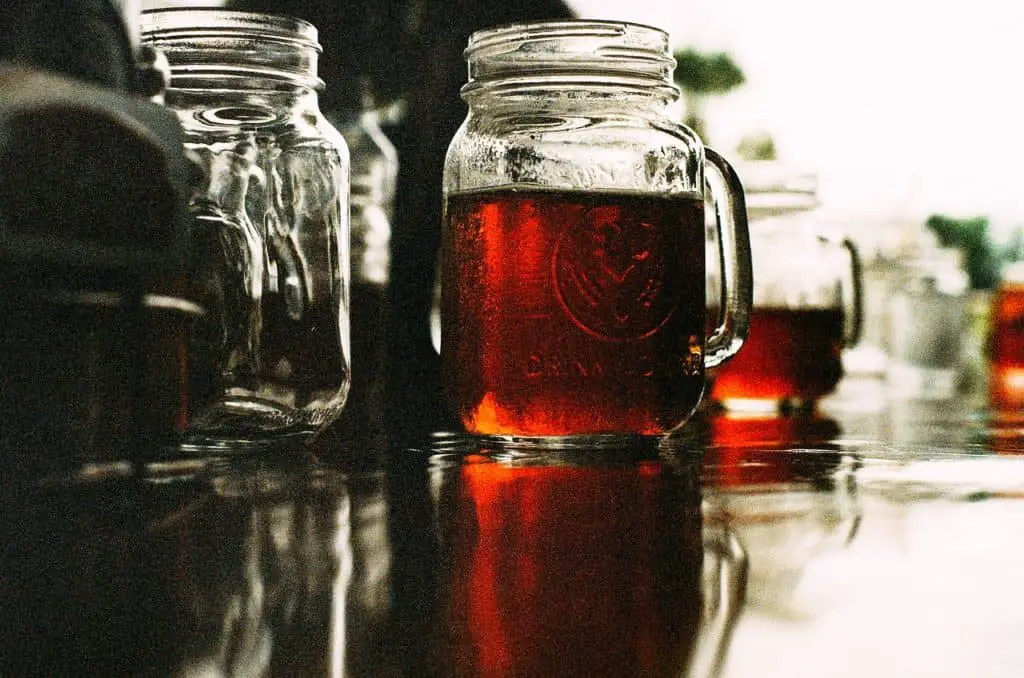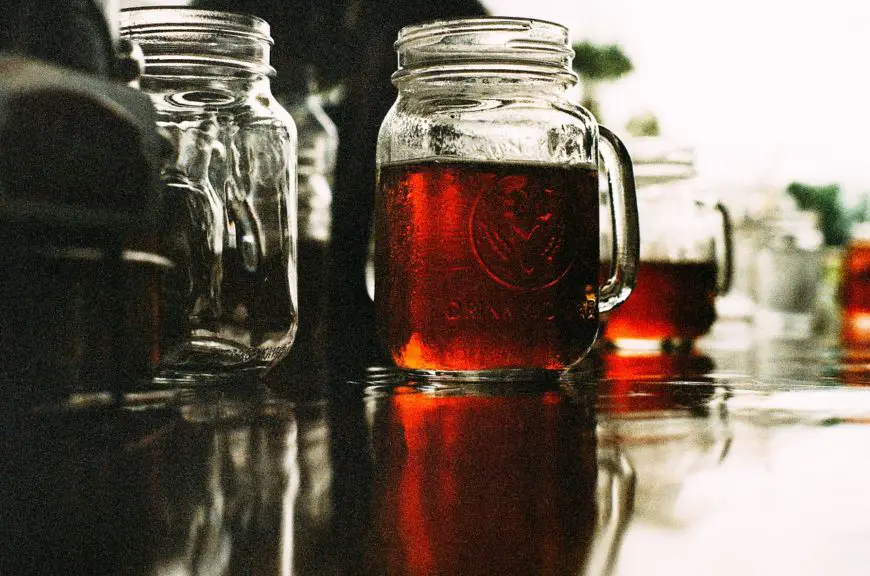
There are lot of ways to make cold brew coffee from fancy equipment from high end coffee companies to a back to the basics coffee brewing methods like Mason Jars, the one I am going to talk about today.
Mason jars have been around for a long time and the many ways that they are used never seems to end. Therefore making cold brew in a mason jar is just another way to use them and easy way to make Cold Brew coffee
If you have never had Cold brew coffee, then get ready for a potential life changing experience, so lets take a closer look why you would want to drink cold brew and how to make it with a mason jar.\.
What Ingredients Do You Need?
- 84g of Whole Bean Coffee
- 588g of Room Temperature Water
- Scale
- A Burr Coffee Grinder
- A large mason Jar
- A mesh strainer
- A thin coffee filter OR cheesecloth
- A Mason Jar
How to Make Cold Brew in a Mason Jar
You may have thought that its this super complicated process that only the pros can do well but if you use good coffee ( I like either a Ethiopia or Kenya) and follow these simple steps you will soon be making cold brew for all your friends and family.
Mason Jar Cold Brew Summary
- Brew time: 14 hours
- Coffee: 84g
- Water: 588g
- Coffee to water ratio: 1:7
- Grind: Coarse
- Ideal water temperature: Room
Step by Step Directions

Step 1. Weigh out the Coffee
Using you scale, Weigh out 84g grams of coffee. You can use any type of coffee. I prefer a light roasted Ethiopia or Kenya.
Step 2. Grind The Coffee
With the burr grinder, coarsely grind your coffee beans
Step 3. Pour in the Water
Using the ratio of 1g of coffee to 7g of water ( you can use 1:5 if you want stronger cold brew) pour in 588g of water into the mason jar and give it one or 2 gentle stirs to make sure the coffee grounds are saturated with the water.
Step 4. Close the Lid and let it sit
Close the lid and let it sit anywhere between 12-24 hours. I like 14 hours but its a personal preference. Just know the longer you let it sit the stronger it becomes and vice versa. Don’t put i t in the refrigerator.. just let it sit on the counter top
Step 5. Strain the Coffee
Once the brew time is up, grab your strainer (if its a paper one, wash it before hand) and put it on top of another Mason jar or wherever you want to pour your cold brew into.
Step 6. Strain Again
I usually strain the cold brew twice so I clean out the first jar really well than put another filter on top of that and strain the coffee 1 more time just to make sure all the grinds are out. Not a necessity but a preference.
Step 7. Use the Right Ratio
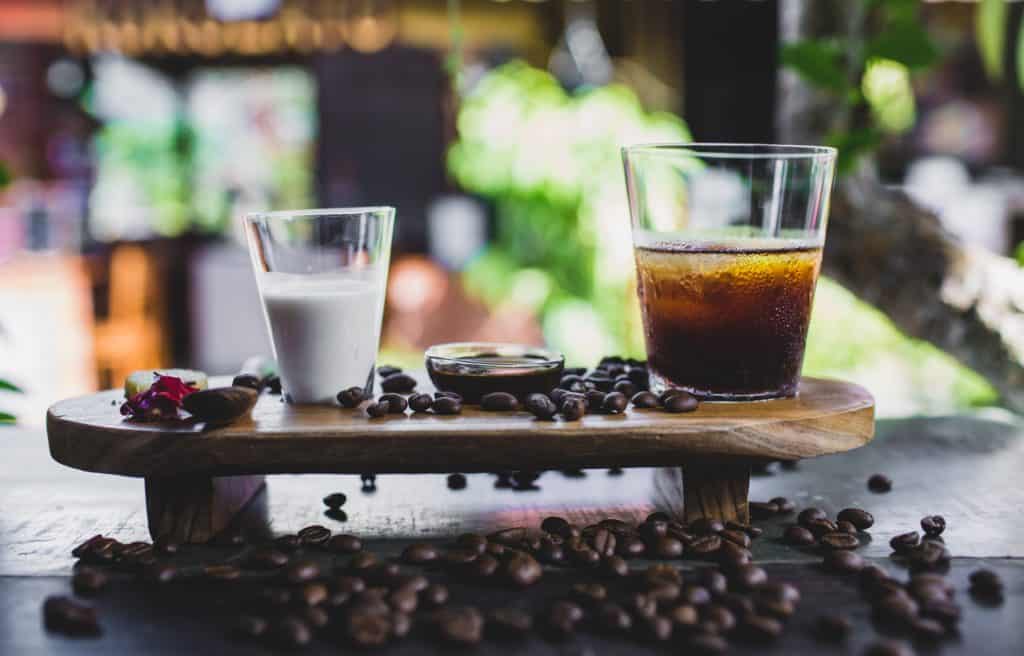
When you are ready for a cup pour it over ice and use a 1 to 1 ratio of water (or milk) to cold brew concentrate
Step 8. Store Leftover in the Fridge
What you will have left in the jar in your cold brew concentrate, which, will be good to drink for about 2 weeks if you keep in the fridge.
Why Drink Cold Brew Coffee
There are quite a few reasons to drink cold brew but the most common ones are due to the low acidity of the coffee due to the brewing process. Since you are not using heat the acidity levels of the coffee remain very low and if you use a coffee that is not very acidic to begin with, for example a coffee from Brazil, there will not be much acidity at all.
Another reason is due to the high caffeine content. Due to the concentrated nature of the way the coffee is brewed the caffeine content is higher than a standard cup of coffee and part of the reason that you need to cut cold brew with either water, milk or milk substitute.
Lastly, when you make a batch of cold brew it will last up to weeks in your refrigerator ( as long as you don’t add milk or creamer to it) so you can always have some coffee whenever you are in the mood.
Final Thoughts
As you can see you really don’t need to get any of the cold brew specific brewing machines, although they can make it slightly easier to use and to clean up
For an in-depth discussion on what proper grind size looks like you can check out this article, but in short, the grounds should be about the size of peppercorns.
The recipe above uses a mason jar to soak your grounds, but if you aren’t feeling the mason jar (perhaps they feel too “trendy” to you), there are many alternative options. Really, you only need a container that can hold as much water and grounds as is desired for your batch.


