
How do you brew coffee with a Melitta Pour Over? Its not as hard as you may think. As a matter of fact it really quite easy. If you want to a make a good cup of coffee whether at home, on the road, or at the office this may be a great option for you.
For this pour over method I like to use a 16 to 1 ratio of water to coffee. Therefore we are going to use 20g of coffee and 320g of water. The brew time will be 3 1/ 2 minutes.
What You’ll Need
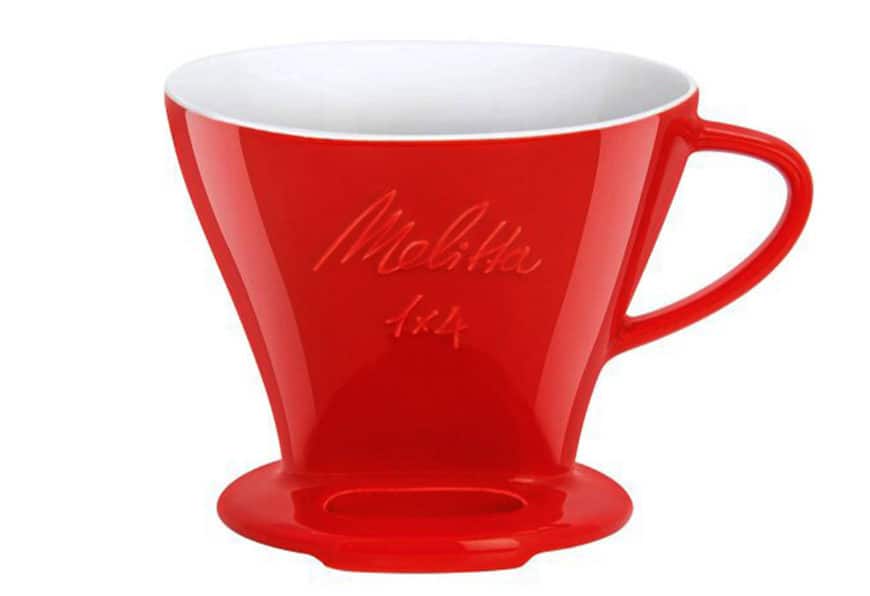
- Melitta Pour Over (Plastic or Porcelain)
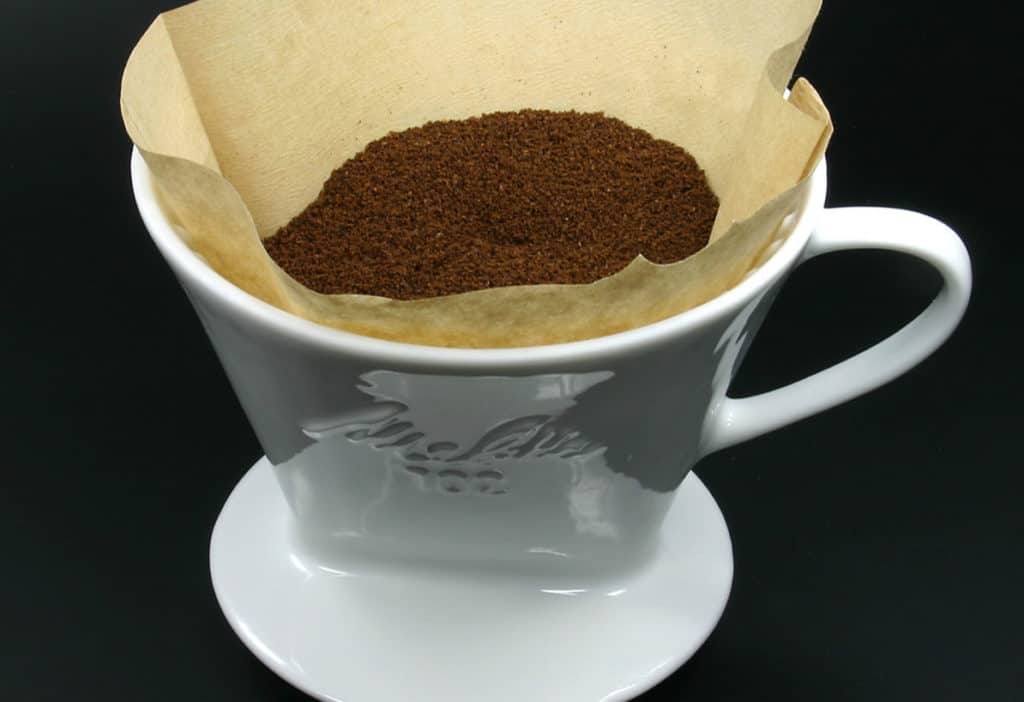
- Melitta Filter Paper #2
- Digital Scale
- Kettle
- Fresh Roasted Coffee Beans
- Filtered Water
Brewing Summary
Brew time: 4 minutes
Coffee: 20g
Water: 320g
Coffee to water ratio: 1:16
Grind: medium
Ideal water temperature: 195 – 205 degrees Fahrenheit
How To Make Melitta Pour Over Coffee
Once you have all the items listed above, it’s time to start brewing and making some great coffee. Here is a step by step guide on how to make coffee with Melitta Pour Over.
Step 1. Heat the Water
Heat water in a kettle to between 195 – 205 F or 30 seconds off boil
Step 2. Fold the Filter
Fold the creases of the paper filer and put it in the Melitta pour over brewer with seams toward handle
Step 3. Rinse the Filter
Take some of the water you are heating and rinse out the paper filter so you don’t have that paper taste and at the same time heat up the Melitta. Then discard the water.
Step 4. Grind the Coffee
Using a burr grinder, grind 20g coffee using a medium setting
Step 5. Add coffee to the filter
Put the coffee in the Melitta – make sure coffee is evenly distributed
Step 6. Melitta Brewer and the Scale
Put the brewer and Carafe on the scale and Tare(zero out) the scale
Step 7. Add water
Once your water is heated, start by adding 40g of water and allowing coffee to bloom for 30 seconds
Step 8. Add More Water
After 30 seconds begin adding more water using a circluar motion, going from outside to inside. Stop when you get to 140g
Step 9. Let the Coffee Drain
Wait until the coffee drains and gets to the point where your coffee bloom ended
Step 10. Add More Water
Start pouring again but this time pour the water from the center using a circular motion. Stop pouring with you get to 240g and allow coffee drain until you get to the bloom point again.
Step 11. Add More Water
On the 3rd and final pour, you want to add the water and pour in circles but pour from the outer edges and move towards the center so you wash off any chunks of coffee that is stuck on the sides. Finish when you reach 320g and allow the coffee to drain completely.
Step 13. The Swirl
Swirl the coffee that is in carafe lightly and pour into a cup
Final Thoughts
Once you taste your coffee you can adjust it accordingly if you think its too strong or too weak. I would only do this however by adjusting the grind size and leaving the rest.
Therefore, if you want a weaker cup then grind the coffee more coarsely, and if you want the coffee a little stronger then grind the coffee more fine.
Bottom line is just to experiment and see what works best for you because in coffee brewing there are no wrong answers.
