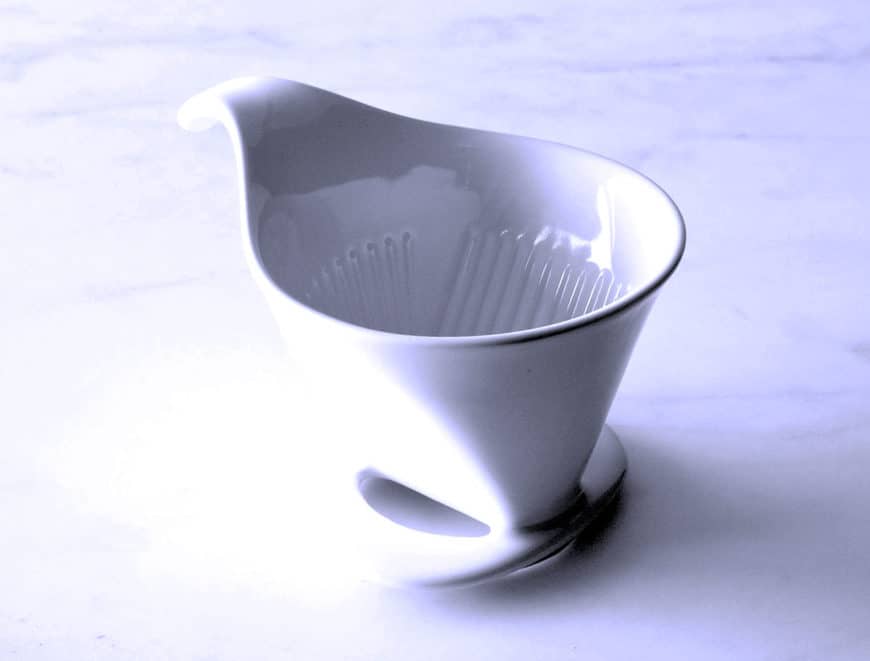
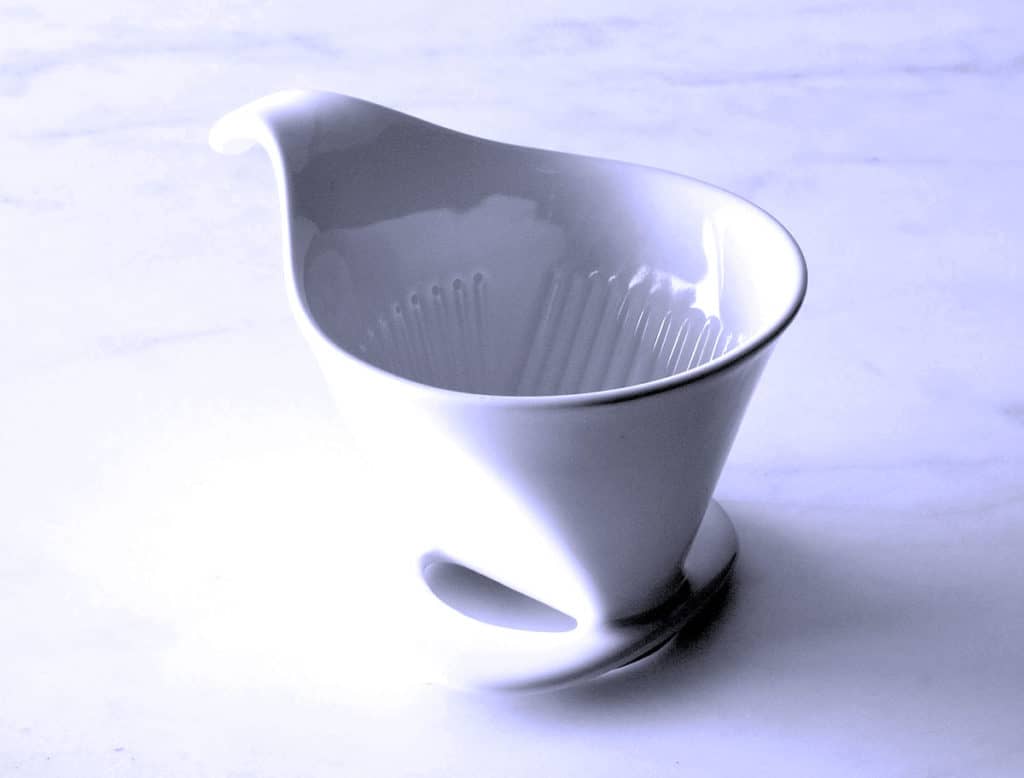
The Bee House Pour over dripper is known for its simplicity and ease of use. Its a great “starter” for those just getting into pour over coffee as its more forgiving then other methods such as the V60.
The Bee House Dripper is a pour over coffee maker that has a a flat bottom with 2 holes, uses a number 2 or 4 filter uses a medium coarse grind and is typically made out of plastic or porcelain.
If your interested in learning more about how you can brew a great cup of coffee with ease without alot of fuss then read on!
The History of Pour Over Coffee
Pour-over coffee got its start back in 1908 by Melitta Bentz. She was a German entrepreneur and coffee enthusiast. Her desire to find the best coffee preparation method resulted in what we now know today as the pour-over method. And it all started when she used blotting paper from her son’s school books and a brass pot that had been perforated by a nail.
Bentz was granted a patent on June 20, 1908, by the Imperial Patent Office, and soon after went into business as M. Bentz. She and her husband would soon after that sell 1,200 coffee filters at the Leipzig fair in 1909.
Coffee enthusiasts all over the world appreciate the control provided to them when they use the pour-over coffee method. And the Bee House Coffee Dripper provides the perfect method and control to get that cup of joe that is just right.
Depending on your preferred flavor, by merely controlling the pour or drip, you can get a completely different feeling and taste. This isn’t possible with just any other coffee brewer or pour-over device.
Brewing Coffee With A Bee House Coffee Dripper
How can you use the Bee House Coffee Dripper to get the perfect cup of joe? Follow these easy nine steps.
- Heat your Water – The first step in creating a cup of pour-over coffee with your Bee House Dripper is by heating your water. The ideal temperature is 200 to 205 degrees Fahrenheit, which will be achieved about 30 seconds after the water comes to a boil.
- Weigh – After your water has come to a boil (or while you are waiting), measure out 22 grams of non-ground coffee.
- Grind – Grind your coffee using your preferred coffee grinder to a medium consistency. This consistency will be about the same as for an auto-drip brewing machine.
- Add the Filter – Set your # 2 (or 4) paper filter into the dripper, and then rinse it with hot water. Do not forget to rinse your filter, as this will help remove any paper taste from your coffee.
- Add the Ground Coffee – After you have rinsed your filter, place the ground coffee into the filter.
- Place Bee House Dripper – Set your bee house dripper on top of the cup.
- Pour and Wait for the Bloom – Add just enough water so that the coffee grounds are wet. Do not add all water at this point, as you just want enough so that your coffee grounds will bloom and release some of their gases. The blooming process will take approximately 30 seconds.
- Add Remaining Water – After the bloom is successful, it will be time for you to add the remaining water. Pour the water using a goose-neck kettle, allowing the water to fall in a circular motion. The grounds should be evenly soaked throughout this process, and you should have used about 12 ounces or 240 grams of water.
- Wait – Your coffee will drip through in about four minutes. If you find that it takes less time than this, it means that you likely poured the water too fast. Conversely, if it seems to take longer than four minutes, it means that you poured the water too slowly. Simply adapt your process next time and practice until you perfect the results.
Using A Kettle with A Bee House Coffee Dripper
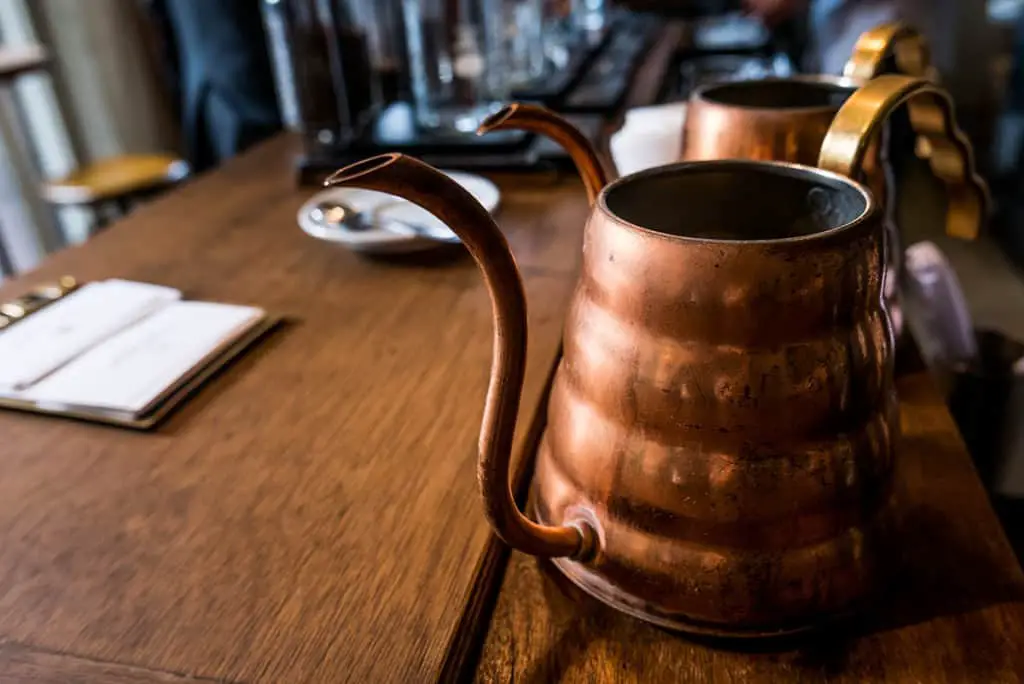
Most pour-over coffee lovers will recommend the use of a goose-neck kettle to heat and pour your water. Goose-neck kettles work quite similarly to other kettles in terms of how the water is heated, but they look a bit different due to the low-sitting high-necked narrow spout.
And though this weird spout might look hard to use, quite the contrary is true. The long neck allows the pourer, you, to better control the amount of water that you are flowing into your cup of coffee.
With a goose-neck kettle, you can ensure that your grounds are evenly hit with water. Simply manipulate the water flow by pouring more slowly or faster, depending on the outcome that you are looking for. Once you have found the flavor you like, you can ensure future consistency with how slow or fast you pour the water.
With a regular kettle, you can never really control the amount of water, which means you may end up with more water sometimes (and a watered-down flavor) and less water the next time (for a stronger flavor). And, you won’t be able to hit all of the grounds evenly. This is exactly what you do not want to happen with your pour-over coffee.
Reasons To Use A Pour Over Kettle:
- Ability to pour the exact amount of water needed for the perfect cup of coffee
- Ability to pour at a speed that is easily controlled
- Ability to hit all of your coffee grounds evenly
When buying your goose-neck kettle, you can select either an electric or a stove-top model. Stove-top models tend to be less expensive and are compatible with all stove types. Since they have no electronics built-in, they will last for years.
With an electric model, you will need access to an outlet so that you can get power to the unit. These kettles sit on their own base which heats up to boil the water rapidly. They will then turn off automatically when the water has reached the ideal temperature.
If you like added features, variable temperature kettles are popular as they allow you to set your unit to your ideal target temperature. In most cases, water will stay heated for up to an hour.
The kettle I used at my coffee shop, was the Bonavita. You can find it on Amazon for about $50 currently or you can go with non electric Fellows Stag Pour Over Kettle for $79.
Tips for Better Pour Over Coffee Brewing
If you are ready to try pour-over coffee, or you want to perfect your method, follow these quick suggestions.
- Test different pour speeds over the course of a few weeks to see what result you prefer the best.
- Make sure that you have a pour-over cone that is the right size for your cup. You don’t want to end up with an off-bed depth during the brewing process. Too little will result in a flat and hollow taste. And too much will lead to over-extraction and a muddled flavor.
- Start with a brew ratio of 16:1. This means 22 grams of coffee to 370 grams of water. Then, if you like it, stick to that ratio. If it isn’t right for you, try 15:1 or 17:1 and go from there until you get the result that you are looking for.
- Use a gram scale to measure out your coffee grams. Precision is key with the pour-over coffee method.
- Pay attention to the ground consistency of your coffee. Most pour-over enthusiasts prefer a medium ground.
- Use good water. If your tap water isn’t good, the taste will be negatively reflected in your coffee.
You can find a Bee House Coffee Dripper on Amazon for currently about $24.00