
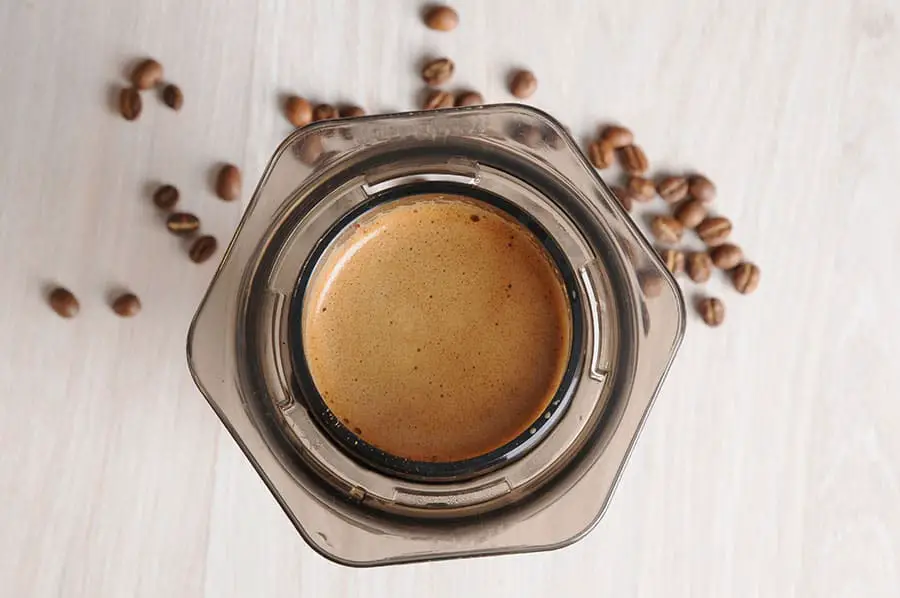
Making coffee with an AeroPress may be different from the traditional method, but the end result is the same—if not better. It’s simple design is lightweight, durable, and brews a fantastic cup whether you’re traveling, camping, or at home.
This list of the five best AeroPress recipes showcases the most popular and effective ways to brew coffee with an AeroPress, drawing from World AeroPress Championship winners, coffee experts, and community favorites. These recipes give you a chance to explore different techniques and decide which one brews your perfect cup.
There are countless AeroPress recipes out there, so don’t hesitate to experiment with your own brewing ideas and ask others how they make their coffee. You’ll be surprised at how many ways there are to use this versatile device!
My 5 Favorite AeroPress Recipes
1. James Hoffmann’s Ultimate AeroPress Recipe
Bright, balanced, and surprisingly forgiving, James Hoffmann’s celebrated recipe is a testament to minimalist excellence. Using just 11 g of finely ground coffee and 200 g of water at precise temperatures, it delivers a refined cup with clear notes and approachable sweetness. For both beginners and seasoned brewers, this recipe is a gateway to consistently excellent AeroPress results.
Basic Setup:
- Grind: Fine (slightly coarser than espresso)
- Coffee Amount: 11g
- Water Temp: 90–95°C (medium roast); 85–90°C (dark roast)
- Amount of Water: 200g
- Time: 2 minutes
Step-by-Step Brewing Process:
- Insert a paper filter into the AeroPress filter cap (no rinse needed). Attach to the AeroPress in standard position.
- Grind 11g of coffee to a fine setting and pour into the AeroPress.
- Start the timer and pour 200g of hot water (90–95°C for medium roast) quickly over the grounds.
- Insert the plunger slightly to create a vacuum and prevent dripping. Let brew for 2 minutes.
- Gently swirl the AeroPress to break the crust.
- Press slowly over 30 seconds into your mug.
- Swirl the coffee in the mug and enjoy.
Why It’s Popular: James Hoffmann, a renowned coffee expert, developed this simple, forgiving recipe that produces a clean, balanced cup. It’s widely praised for its accessibility and consistency, making it a go-to for beginners and pros alike.
2. World AeroPress Champion George Stanica (2024) Recipe
From a championship podium to your morning routine—George Stanica’s 2024 winning technique blends precision and finesse. With an inverted method, strategic stirring, and a clever mix of hot and room‑temperature water, this recipe yields a clean, floral brew. It’s performance-grade coffee that feels accessible—and undeniably impressive
Basic Setup:
- Grind: Medium-fine (870 µm, ~58 clicks on Comandante C40)
- Coffee Amount: 18g
- Water Temp: 96°C (extraction); room temperature (dilution)
- Amount of Water: 150g (hot) + 36g (room temp)
- Time: 2 minutes 15 seconds
Step-by-Step Brewing Process:
- Set up the AeroPress in the inverted position with a rinsed Aesir filter.
- Grind 18g of coffee to a medium-fine setting and pour into the AeroPress.
- Start the timer and pour 150g of 96°C water over the grounds.
- Stir firmly 20 times for 13 seconds.
- Attach the filter cap, press out excess air, and place a carafe on top.
- At 1:50, flip the AeroPress onto the carafe, swirl 3 times, and tap down twice.
- Press gently from 1:55 to 2:15, stopping when the plunger touches the coffee.
- Add 36g of room-temperature water, swirl for 1 minute to cool, and serve.
Why It’s Popular: As the 2024 World AeroPress Champion, George Stanica’s recipe is the latest gold standard, celebrated for its precision and clean, floral notes. It’s a favorite among competition enthusiasts.
3. Tim Wendelboe’s Classic AeroPress Recipe
A Norwegian icon’s approach, Tim Wendelboe’s method exemplifies simplicity with impact. Using a medium-fine grind, 14 g of coffee, and a brisk 1½-minute brew, it strikes a careful balance between clarity and strength. Ideal for showcasing light roasts, this technique is perfect for anyone wanting a crisp, authentic AeroPress experienc
Basic Setup:
- Grind: Medium-fine (slightly finer than drip)
- Coffee Amount: 14g
- Water Temp: 90–96°C
- Amount of Water: 200g
- Time: 1 minute 30 seconds
Step-by-Step Brewing Process:
- Insert a rinsed paper filter into the AeroPress cap and attach to the AeroPress in the inverted position.
- Grind 14g of coffee to a medium-fine setting and pour into the AeroPress.
- Start the timer and pour 200g of 90–96°C water over the grounds.
- Stir 3 times with a spoon and insert the plunger slightly to create a vacuum.
- Let brew for 1 minute.
- Remove the plunger, stir 3 times again, and reinsert the plunger.
- Flip the AeroPress and press slowly over 30 seconds into your mug.
Why It’s Popular: Tim Wendelboe, a Norwegian coffee legend, uses this recipe in his Oslo café. Its simplicity and strong ratio make it ideal for highlighting light roasts, earning it a lasting spot in AeroPress culture.
4. Wendelien van Bunnik (2019 WAC Champion) Recipe
A quick, 1‑minute burst of flavor—Wendelien van Bunnik’s champion-winning recipe is both bold and bold‑facing. With coarse grind, lower temperature water, and a fast inverted method, it produces coffee with vibrant clarity and punch. For lovers of championship quality without the wait, this method is a standout.
Basic Setup:
- Grind: Coarse (between drip and French press)
- Coffee Amount: 16g
- Water Temp: 85°C
- Amount of Water: 250g
- Time: 1 minute
Step-by-Step Brewing Process:
- Insert a rinsed paper filter into the AeroPress cap and attach to the AeroPress in the inverted position.
- Grind 16g of coffee to a coarse setting and pour into the AeroPress.
- Start the timer and pour 250g of 85°C water over the grounds.
- Stir gently for 10 seconds.
- Attach the filter cap and let brew until 50 seconds.
- Flip the AeroPress and press slowly over 10 seconds into your mug.
Why It’s Popular: Wendelien van Bunnik’s 2019 WAC-winning recipe is loved for its quick brew time and clean, vibrant results. It’s perfect for those seeking a straightforward yet championship-quality cup.
5. Pour Over-Style AeroPress Recipe
Craving the delicacy of pour-over but craving convenience? This fusion recipe nails it. With a medium grind, gentle bloom, and a drawn-out steep+press combo, it mirrors the nuanced sweetness of V60 while preserving the AeroPress’s portability. Expect a light, nuanced brew full of clarity and depth
Basic Setup:
- Grind: Medium
- Coffee Amount: 15g
- Water Temp: 92–96°C
- Amount of Water: 255g
- Time: 4 minutes
Step-by-Step Brewing Process:
- Set up the AeroPress in the standard position over a carafe or mug with a rinsed paper filter.
- Grind 15g of coffee to a medium setting and pour into the AeroPress.
- Start the timer and pour 60g of 92–96°C water, stirring gently to wet all grounds.
- Let bloom for 30 seconds.
- Pour the remaining 195g of water slowly over 30 seconds.
- Let brew for 3 minutes, allowing some water to drip through.
- Press slowly over 60+ seconds to mimic pour-over conditions.
- Swirl the coffee in the carafe and serve.
Why It’s Popular: This recipe, endorsed by AeroPress’s official site, replicates the light, nuanced profile of a pour-over, making it a favorite for those who prefer a delicate, tea-like coffee.
Getting Started With an AeroPress
As simple as the AeroPress design seems, you’ll be amazed at how many ways you can brew coffee with this device. There are two fundamental methods: standard (upright) and inverted (upside-down). The inverted method offers more control over extraction, making it popular for many championship recipes.
AeroPress Recipe Essentials
- AeroPress
- Paper filters (1–2 per brew)
- Coffee grinder
- Freshly roasted coffee
- Gooseneck kettle (heat water to 185–195°F)
- Scale
- Timer
- AeroPress paddle or spoon
- Mug
FAQ: How to Properly Clean an AeroPress
Cleaning the AeroPress is a breeze and takes just seconds:
- Remove the filter cap and press the plunger to eject the used grounds into a compost bin.
- Rinse the plunger, paying close attention to the rubber seal.
- If residue remains, use a sponge and dish soap to clean the chamber.
- Set aside to dry or place in the dishwasher (it’s dishwasher-safe!).
Can’t get much easier than that!
Final Thoughts
If you’re looking for a simple, portable device with recipes that are easy to master, the AeroPress should be at the top of your list. Its fast brewing time produces coffee with lower acidity, and its affordability and versatility make it a must-have for any coffee lover. Try these five recipes, tweak them to your taste, and explore the endless possibilities of AeroPress brewing.
You can also check out my review of the AeroPress Go for a compact travel option!