
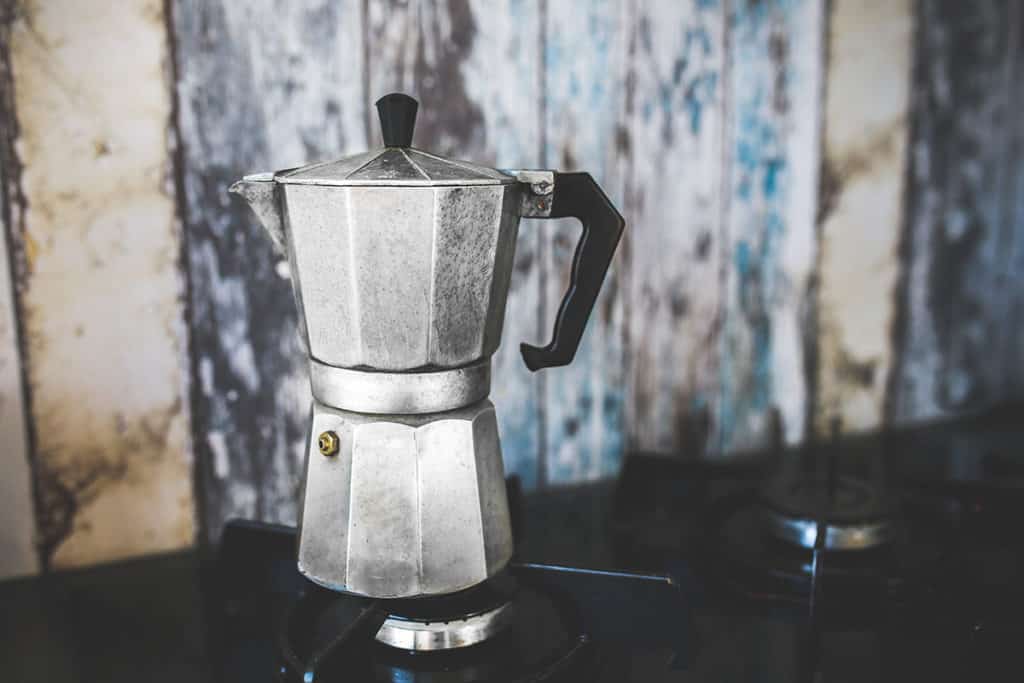
The Moka Pot, an iconic symbol of Italian coffee culture, has been brewing rich, espresso-like coffee in homes since the 1930s. Its sleek, art deco design and ability to deliver a bold, full-bodied cup make it a favorite for coffee lovers who crave something stronger than drip coffee but don’t want the expense of an espresso machine.
In this guide, we’ll walk you through the history of the Moka Pot, explain how it differs from espresso machines, and provide a step-by-step process to brew the perfect cup at home or on the go. Whether you’re a beginner or a seasoned brewer, you’ll find tips to elevate your Moka Pot game and enjoy café-quality coffee without breaking the bank.
The History of the Moka Pot
In 1933, Italian engineer Alfonso Bialetti revolutionized home coffee brewing with the invention of the Moka Pot, initially called the Moka Express. Inspired by the mechanics of early washing machines, Bialetti designed a stovetop brewer that used steam pressure to push hot water through coffee grounds, creating a strong, espresso-like drink. Named after the Yemeni port city of Mocha, a historic hub for coffee exports, the Moka Pot quickly became a staple in Italian households, especially during the 1950s coffee culture boom when large espresso machines were primarily commercial.
Bialetti’s company, now Bialetti Industries, continues to produce the iconic Moka Express, with its distinctive eight-sided aluminum design largely unchanged for over 90 years. The Moka Pot’s affordability, portability, and ability to mimic espresso made it a global phenomenon, found in nine out of ten Italian kitchens and cherished worldwide for its nostalgic charm and robust brews.
Moka Pot vs. Espresso Machine: What’s the Difference?
While often called a “stovetop espresso maker,” the Moka Pot doesn’t produce true espresso. Espresso machines use 8–10 bars of pressure to force hot water through finely ground coffee, resulting in a concentrated shot with a thick crema. In contrast, a Moka Pot generates 1–2 bars of pressure, creating a coffee that’s stronger than drip or pour-over but less intense than espresso, with a lighter crema if brewed correctly.
This makes the Moka Pot ideal for those who love bold coffee but don’t need the precision or expense of an espresso machine. It’s also portable, easy to clean, and perfect for camping or travel, unlike bulky espresso machines. The trade-off? Moka Pots require a bit of practice to avoid bitter or under-extracted coffee, but with the right technique, they deliver a delicious, espresso-style brew.
How to Brew Coffee with a Moka Pot
Brewing with a Moka Pot is straightforward once you master the basics. The process involves three chambers: a bottom boiler for water, a middle basket for coffee grounds, and a top chamber for the brewed coffee. Here’s how to do it right, with tips to ensure a balanced, flavorful cup every time.
What You’ll Need
To brew Moka Pot coffee, gather these essentials:
- Moka Pot: Choose a size that suits your needs (e.g., a 1-cup pot makes ~2 oz, a 4-cup makes ~8 oz). Bialetti Moka Express is a reliable choice.
- Fresh Roasted Coffee Beans: Opt for medium or dark roasts for a bold flavor, or try a blend designed for Moka Pots to highlight chocolatey or fruity notes.
- Burr Grinder: A consistent grind is key to avoiding bitterness or weak coffee.
- Scale: For precise coffee-to-water ratios.
- Kettle: To preheat water and prevent overcooking the coffee.
- Wet Towel or Cold Water: To stop brewing and reduce bitterness.
- Heat Source: A stovetop (gas or electric) or camping burner. Note: aluminum Moka Pots don’t work on induction stoves without an adapter.
Step-by-Step Brewing Process
1. Weigh and Grind the Coffee
For a 4-cup Moka Pot, measure 15–20 grams of coffee, aiming for a 1:10 coffee-to-water ratio (e.g., 18g coffee to 180g water). Adjust slightly for stronger or milder brews. Grind the beans to a medium-fine consistency, similar to table salt—coarser than espresso but finer than drip coffee. A burr grinder ensures uniformity, preventing over-extraction (bitterness) or under-extraction (weak flavor).
2. Fill the Boiler with Hot Water
Boil water in a kettle and pour it into the Moka Pot’s bottom chamber until it just touches the safety valve. Starting with hot water prevents the pot from overheating, which can impart a metallic or burnt taste to the coffee. Avoid cold water, as it extends brewing time and risks premature extraction.
3. Add Coffee to the Basket
Insert the filter basket into the boiler and fill it with the ground coffee, mounding it slightly but not packing it down. Tamping increases pressure and can lead to over-extraction or even a clogged pot, so gently level the grounds with your finger or a spoon.
4. Assemble the Pot
Using a towel to protect your hand from the hot boiler, screw the top chamber onto the bottom. Tighten firmly but not excessively to avoid damaging the rubber gasket. Ensure no grounds are on the rim to maintain a proper seal.
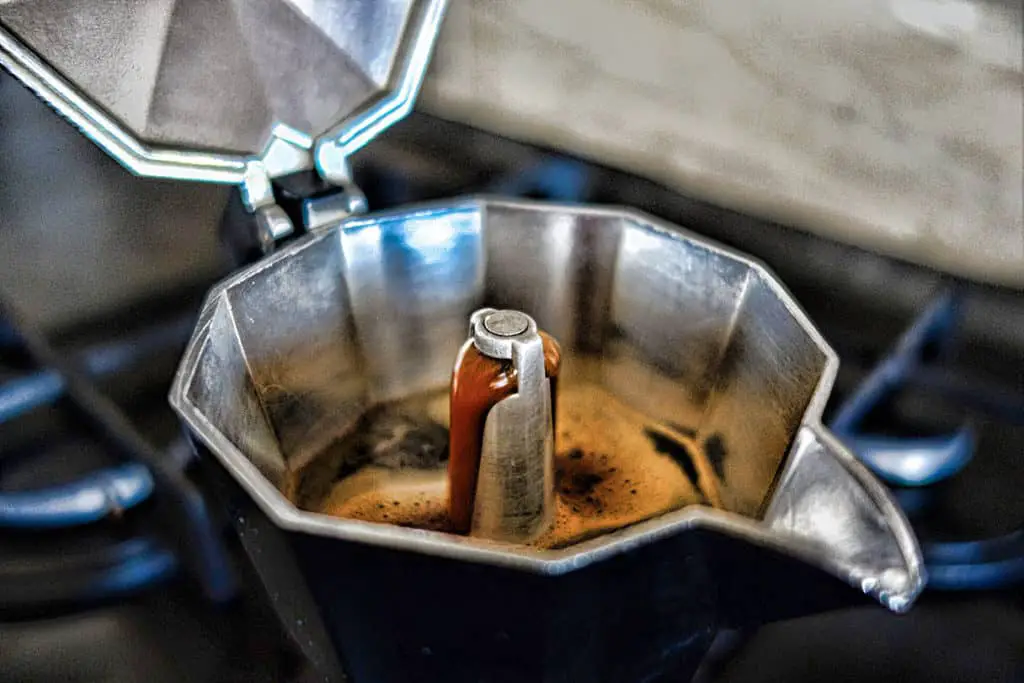
5. Brew on Medium Heat
Place the Moka Pot on a stovetop over medium to medium-low heat, keeping the handle away from the flame. Leave the lid open to monitor the brew. After 2–5 minutes (depending on pot size and heat), you’ll hear a gurgling sound as rich, dark brown coffee flows into the top chamber. As the stream lightens to a honey-yellow color, reduce the heat to low to avoid sputtering, which can introduce bitter flavors.
6. Stop the Brew
When the coffee stream becomes foamy or the pot starts sputtering, remove it from the heat. To halt extraction and prevent bitterness, wrap the base in a wet towel or run it under cold tap water for a few seconds. Close the lid once brewing stops.
7. Pour and Serve
Stir the coffee in the top chamber to blend the stronger initial brew with the lighter final portion. Pour into cups immediately to avoid overcooking in the warm pot. For a black coffee, serve as is. To make an Americano, add hot water; for a latte or cappuccino, mix with steamed or frothed milk (a French press can froth milk if you don’t have a steamer).
Brewing Time and Ratios by Moka Pot Size
| Moka Pot Size | Coffee (grams) | Water (grams) | Approx. Brew Time | Yield (oz) |
|---|---|---|---|---|
| 1-cup | 6–8 | 60–80 | 2–3 minutes | ~2 |
| 3-cup | 12–15 | 120–150 | 3–4 minutes | ~6 |
| 4-cup | 15–20 | 150–200 | 4–5 minutes | ~8 |
| 6-cup | 22–28 | 220–280 | 5–6 minutes | ~12 |
Note: Adjust coffee and water slightly based on taste preference. Use a scale for precision.
Tips for the Perfect Moka Pot Coffee
To elevate your brew and avoid common pitfalls, keep these pointers in mind:
- Choose the Right Beans: Medium or dark roasts work best, but light roasts can shine with a finer grind to highlight fruity notes. Experiment with blends labeled for Moka Pots.
- Use Filtered Water: Hard water with limescale can affect flavor and build up in the pot. Filtered water ensures a cleaner taste.
- Monitor Heat Closely: High heat causes rapid extraction, leading to bitterness. If the coffee flows too quickly, lower the heat.
- Clean After Each Use: Rinse all parts with warm water to remove coffee oils, which can turn rancid and taint future brews. Avoid soap, as it strips the pot’s seasoning, and never use a dishwasher. Dry thoroughly to prevent rust.
- Season Your Pot: For a new Moka Pot, brew a few “throwaway” batches to coat the interior with coffee oils, enhancing flavor over time.
- Avoid Overfilling: Filling water past the safety valve or overpacking the basket can cause excessive pressure or clogging.
- Store Properly: Don’t screw the pot tightly when storing, as this wears out the gasket. Replace gaskets periodically to maintain a good seal.
Common Mistakes and How to Fix Them
New Moka Pot users often encounter issues like bitter or weak coffee. Here’s how to troubleshoot:
- Bitter Coffee: Likely caused by overheating, over-extraction, or a grind that’s too fine. Use hot water, lower the heat, and stop brewing as soon as sputtering starts. Try a slightly coarser grind.
- Weak Coffee: Usually due to a grind that’s too coarse or insufficient coffee. Adjust to a medium-fine grind and ensure the basket is full but not tamped.
- Sediment in Cup: A grind that’s too fine or pouring too quickly can introduce grounds. Use a slightly coarser grind or an Aeropress paper filter over the basket screen for a cleaner cup.
- Burnt Taste: Overheating the pot or leaving it on the stove too long is the culprit. Preheat water and remove the pot promptly when brewing finishes.
Final Thoughts
The Moka Pot is a timeless, budget-friendly way to brew rich, espresso-style coffee at home or on the road. Its compact size, durable construction, and nostalgic charm make it a must-have for coffee enthusiasts. With a bit of practice and attention to grind size, water temperature, and brewing time, you’ll be pouring cups that rival your favorite café’s offerings.
Keep your pot clean, experiment with different roasts, and don’t be afraid to tweak the process to suit your taste. Whether you sip it black, dilute it for an Americano, or froth milk for a cappuccino, Moka Pot coffee is a versatile delight that’s here to stay.