The AeroPress, launched in 2005 by inventor Alan Adler, is a game-changer for coffee lovers. Its compact, durable design and ability to brew clean, flavorful coffee have made it a favorite among home brewers, campers, and baristas.
Whether you’re at home or on a mountain trail, the AeroPress delivers versatility with methods like standard, inverted, and espresso-style brewing. This guide walks you through three easy ways to make AeroPress coffee, with step-by-step instructions, tips, and variables to nail your perfect cup every time.
What Makes the AeroPress Special?
The AeroPress stands out for its simplicity and flexibility. Unlike electric coffee makers, it uses manual pressure to force hot water through coffee grounds, creating a rich, smooth brew without electricity. Its small size—about the size of a water bottle—makes it ideal for travel, camping, or small kitchens.
The device’s plunger and chamber design allows for quick extraction, producing coffee in under two minutes. You can tweak grind size, water temperature, and brew time to customize flavors, from bright and floral to bold and earthy. Whether you’re a beginner or a coffee geek, the AeroPress offers endless experimentation.
1. Standard Brewing Method
The standard method is the AeroPress’s default, straight from the instruction manual. It’s beginner-friendly, producing a clean, balanced cup similar to pour-over coffee. This method shines with medium roasts, highlighting nutty or fruity notes.
Essentials
- 17g fresh roasted coffee (local roaster preferred)
- 250g filtered water
- Paper or metal filter
- Burr grinder
- Scale
- Timer
- AeroPress stirrer (included in kit)
Step-by-Step Guide
- Heat 250g of water to 175°F (80°C). If you don’t have a thermometer, boil and cool for 1–2 minutes.
- Weigh 17g of coffee beans and grind to a medium-fine consistency, like table salt.
- Place a paper filter in the filter cap, screw it onto the chamber, and set the chamber on your mug.
- Add ground coffee to the chamber.
- Start your timer and pour 250g of hot water over the grounds, stirring gently for 10 seconds.
- At 2:00 minutes, insert the plunger and press down slowly (15–20 seconds) until you hear a hiss.
- Remove the AeroPress, stir the coffee, and enjoy.
This method yields a 7–8 oz cup with a clean, smooth profile. If it tastes weak, try a finer grind; if it’s bitter, coarsen the grind or lower the water temperature to 170°F.
2. Inverted Brewing Method
Popularized by baristas around 2008, the inverted method flips the AeroPress upside down for greater control over steeping time. It produces a fuller-bodied coffee, ideal for dark roasts or those who like a richer mouthfeel. The vacuum created by the plunger traps water and grounds, enhancing extraction.
Essentials
- 17g fresh roasted coffee
- 250g filtered water
- Paper or metal filter
- Burr grinder
- Scale
- Timer
- AeroPress stirrer
Step-by-Step Guide
- Heat 250g of water to 175°F (80°C).
- Grind 17g of coffee beans to a medium-fine consistency.
- Insert the plunger into the chamber just past the rubber seal, then flip the AeroPress so the plunger is on the bottom.
- Add ground coffee to the upside-down chamber.
- Start your timer and pour 250g of hot water, stirring gently for 10 seconds.
- Screw on the filter cap with a paper filter.
- At 2:00 minutes, carefully flip the AeroPress onto your mug (use a firm grip to avoid spills).
- Press down slowly (15–20 seconds) until you hear a hiss.
- Remove the AeroPress and enjoy.
The inverted method allows longer steeping, coaxing out deeper flavors. If the flip feels tricky, practice over a sink. It should also be noted that inverted brewing enhances body for single-origin beans like Colombian or Guatemalan.
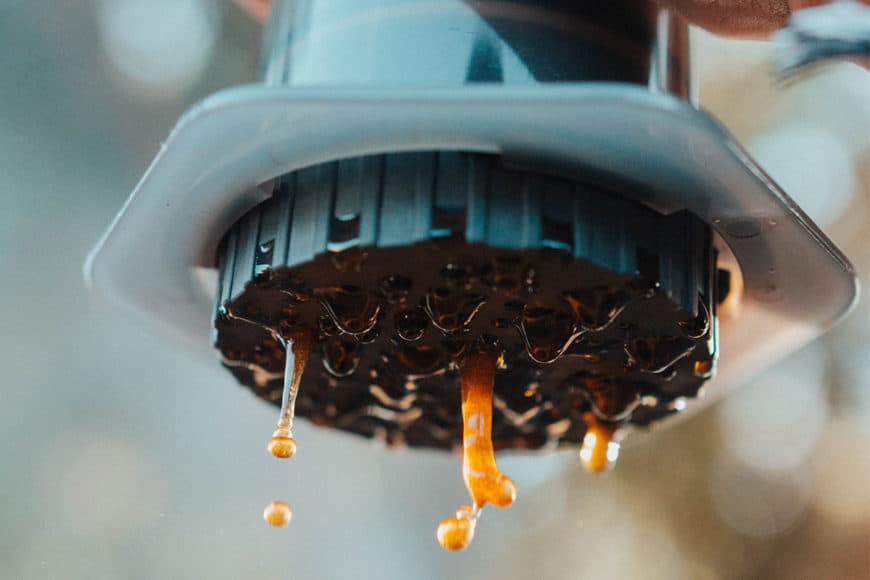
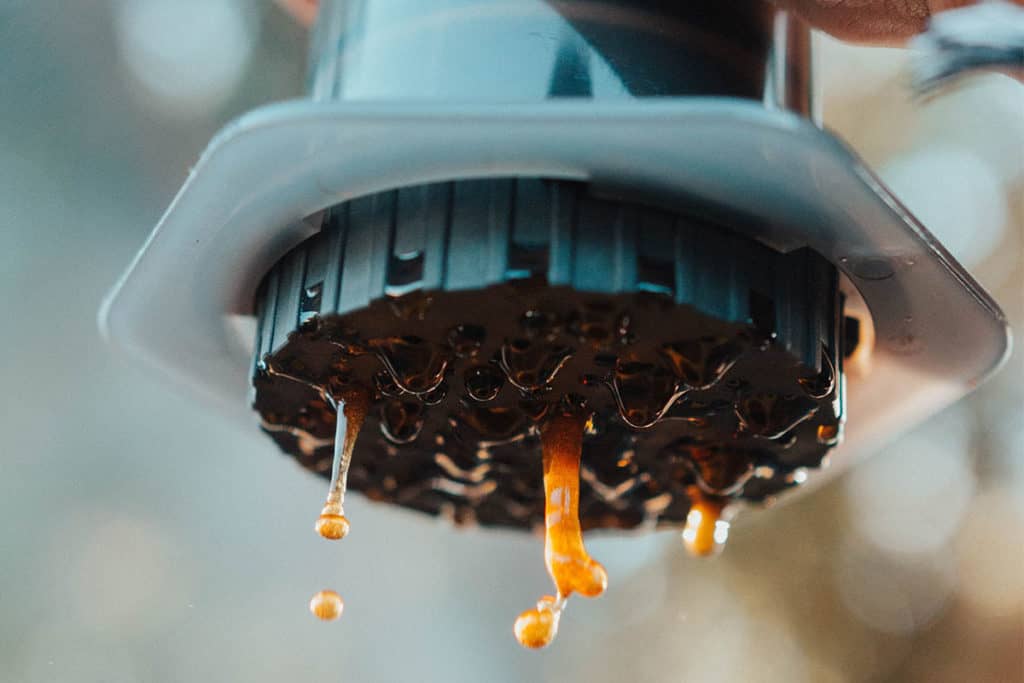
3. Espresso-Style Brewing Method
The AeroPress can mimic espresso, producing a concentrated, crema-topped shot for lattes or cappuccinos. While it doesn’t match a professional espresso machine’s 9-bar pressure, it comes close enough to impress. This method works best with dark roasts for bold, chocolatey notes.
Essentials
- 15g fresh roasted coffee
- 100g filtered water
- Paper or metal filter
- Burr grinder
- Scale
- Timer
- AeroPress stirrer
Step-by-Step Guide
- Heat 100g of water to 195°F (90°C).
- Grind 15g of coffee beans to a fine consistency, like espresso grind.
- Place a paper filter in the filter cap, screw it onto the chamber, and set on your mug.
- Add ground coffee to the chamber.
- Start your timer and pour 100g of hot water, shaking the AeroPress gently to wet all grounds.
- At 30 seconds, stir briefly, then insert the plunger.
- At 1:00 minute, press down firmly (20–25 seconds) to create crema.
- Remove the AeroPress and serve as a shot or mix into espresso drinks.
This method yields a 2–3 oz shot with a light crema. For a stronger shot, use 18g of coffee and 90g of water. A Perfect Daily Grind article highlighted that AeroPress espresso is a budget-friendly alternative for home baristas.
Comparison of AeroPress Brewing Methods
This table summarizes the three methods, helping you choose based on flavor and ease:
| Method | Coffee (g) | Water (g) | Brew Time | Flavor Profile | Best For |
|---|---|---|---|---|---|
| Standard | 17 | 250 | 2 min | Clean, balanced | Beginners, pour-over fans |
| Inverted | 17 | 250 | 2 min | Full-bodied, rich | Dark roasts, bold flavors |
| Espresso | 15 | 100 | 1 min | Concentrated, bold | Espresso drinks, lattes |
Key AeroPress Variables
Brewing great AeroPress coffee comes down to a few key tweaks that shape your cup’s flavor and strength. From grind size to water temperature, these variables let you dial in the perfect brew for your taste. This section explains what to adjust and how, so you can master your AeroPress every time.
- Brew Time: The AeroPress’s small chamber and manual pressure mean fast extraction—1–2 minutes total. Standard and inverted methods take 2 minutes, while espresso-style is quicker at 1 minute. Shorter times preserve sweetness; longer ones pull bitter notes.
- Grind Size: A medium-fine grind (like table salt) works for standard and inverted methods, balancing extraction speed and flavor. For espresso-style, use a fine grind (like espresso) for intensity. Too coarse, and your coffee tastes weak; too fine, and it’s bitter or hard to plunge.
- Filters: Paper filters (350 included in the kit) produce a clean cup by absorbing oils, ideal for bright, fruity beans like Ethiopian. Metal filters, sold separately, let oils through for a heavier, French press-like body, suiting dark roasts like Sumatran. It’s also been said that paper filters enhance clarity for single origins.
- Water Temperature: Standard and inverted methods use 175°F (80°C) for balanced flavors. Espresso-style needs 195°F (90°C) to mimic espresso’s intensity. My AeroPress Go review flagged 212°F as too hot; I kept temperatures lower here for optimal taste.
- Volumetric Marks: The AeroPress’s 1–4 markings indicate servings. For one cup, fill to “2” (about 250g water); for multiple cups, fill higher and dilute with hot water after brewing. Weighing with a scale, as you’ve recommended in past posts (e.g., Moka Pot), ensures precision.
Tips for AeroPress Success
Want to take your AeroPress game to the next level? A handful of simple tricks can make your coffee taste even better, whether you’re brewing at home or on the go. From picking the right beans to keeping your gear spotless, these tips will help you get the most out of every sip.
- Use Fresh Beans: Choose beans roasted within 14 days, stored airtight. Local roasters offer quality, as you noted in your local roaster post. Try Ethiopian for floral standard brews or Brazilian for bold espresso shots.
- Clean Regularly: Rinse the chamber, plunger, and filter cap after each use. Soak in vinegar-water monthly to remove oils, per our Moka Pot cleaning tips.
- Experiment: Adjust grind, water, or steep time. It is suggested steeping inverted brews for 90 seconds for extra body.
- Travel Smart: The AeroPress’s portability, which I praised in my travel coffee post, makes it camp-friendly. Pack pre-ground coffee in a sealed container for convenience.
- Troubleshoot: If the plunge is tough, coarsen the grind or check for over-tamping. Weak flavor? Use hotter water or more coffee (18–20g).
Final Thoughts
The AeroPress’s rise from a 2005 invention to a coffee icon is no surprise. Its simple design, portability, and versatility let you brew clean pour-over-style coffee, rich full-bodied cups, or espresso-like shots anywhere. Whether you stick to the standard method, master the inverted flip, or whip up a latte, the AeroPress invites creativity. Try these three methods, tweak the variables, and share your results with fellow coffee fans. This little brewer might just become your go-to for every coffee craving.